SEC595: Applied Data Science and AI/Machine Learning for Cybersecurity Professionals


Experience SANS training through course previews.
Learn MoreLet us help.
Contact usBecome a member for instant access to our free resources.
Sign UpWe're here to help.
Contact Us
Over the years, there has been a clear need for some digital forensic toolsets that will accomplish basic goals. The first of those goals is creating an environment friendly to analyzing acquired file system images. Today we will discuss how to use the SIFT workstation to mount and examine a Windows NTFS image.
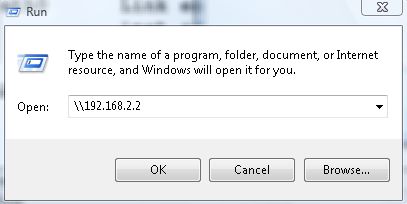
The SIFT already should be able to be seen from the Windows machine you have it installed on. The SIFT workstation, by default, is in VMware HOST ONLY mode, but you can modify that in the VMware Machine Settings.
Find out the IP Address of your machine by running ifconfig:

Obtain the IP Address of your SIFT Workstation using ifconfig


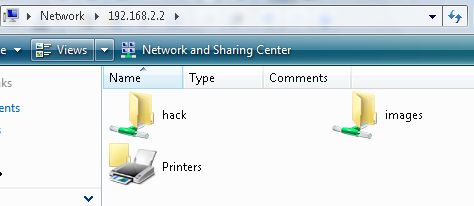
You can now see your shares on your SIFT Workstation
We will now mount an NTFS filesystem in read-only mode on the SIFT workstation and examine the files from our Windows machine.
I use the notation YYYYMMDD as my case name in many cases. I label evidence usually the same way, but with th evidence tag as an additional two numbers at the end. For example 20090204 is the case name and the first piece of evidence would be 20090204-01 for my records.
I put all evidence in the evidence locker in the /images directory. Usually, evidence I am actually analyzing will be "working copies" and not "best or original evidence." I use the /mnt/hack directory as the location where I mount my partitions.
ro= READ ONLY
loop= Use Loopback device
show_sys_files= Show NTFS Metadata files
Mounting your "working copy" of the evidence in read-only mode.
You can see the mounted image file via your Windows machine in Read-Only Mode
You can now see the mounted filesystem from Windows if you browse to the \192.168.2.2\hack\windows_mount directory. This is in read-only mode so you cannot change the data of the files. In addition, you can also see the NTFS metadata files.

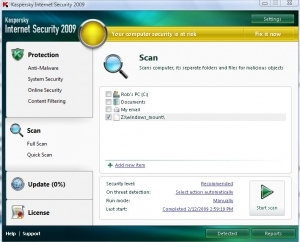
Using a virus scanner is always a good first step once you have your evidence mounted in read-only mode
Many usually map a network drive, such as Z: to the mounted read-only file system so any windows tool can easily parse data from the mounted partition.
From here I always recommend that one of the first steps would be to scan the read-only file system using a virus scanner or two. Here is a screen shot of performing a virus scan against the read-only file system.
Mounting raw images is fairly simple using the SIFT Workstation. The next time we visit mounting images, we will discuss how to mount either AFF (Advanced Forensic Format) or EWF (Expert Witness) image files.


Rob T. Lee is Chief AI Officer and Chief of Research at SANS Institute, where he leads research, mentors faculty, and helps cybersecurity teams and executive leaders prepare for AI and emerging threats.
Read more about Rob T. Lee